The Elektor article mentioned in the previous post presented a simple LED blinking program as the first Bascom project. The code is shown below:
'-----------------------------------------------------------------
'LEDblink.BAS
'-----------------------------------------------------------------
$regfile = "m328pdef.dat" 'ATmega328p
$crystal = 16000000 '16 MHz

'-----------------------------------------------------------------

Config Portb = Output

Do
 Portb.5 = 1 'LED on
 Waitms 500 '500 ms
 Portb.5 = 0 'LED off
 Waitms 500 '500 ms
Loop
There is just one endless do-loop that turns the LED on and off (the LED is connected to Port B Pin 5).
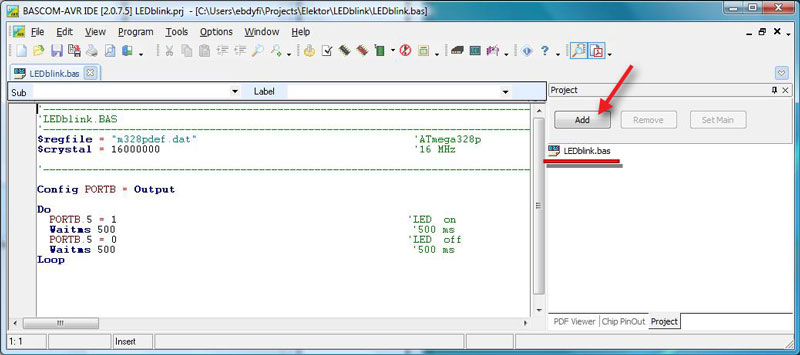
I created a new project in BASCOM-AVR (called LEDblink) and added the example file (LEDblink.bas).
Next I need to connect the Arduino Uno. But for that we need a USB driver. The Elektor article instructs to install the Arduino IDE to get the driver. Ok, let’s install the Arduino IDE which is another SW development environment especially designed for the Arduino microcontroller boards. You can get the latest version from the page:
http://arduino.cc/en/main/software
Hmm, looks like we could use the Arduino IDE as well for the SW development. It uses the C/C++ language instead of BASIC. Anyway, let’s just follow the bootcamp for now.
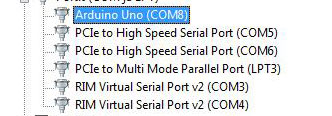
After the Arduino IDE (and the USB driver) is installed I can connect the Arduino Uno board to my PC with the USB cable. The board will get the power from the USB cable so no special power supply is needed. The COM-port should be visible in the Windows Device Manager.
In the BASCOM-AVR you need to go to Options>Programmer and select the Programmer (“ARDUINO”) and enter the COM-port number and speed (also tick Auto Flash).

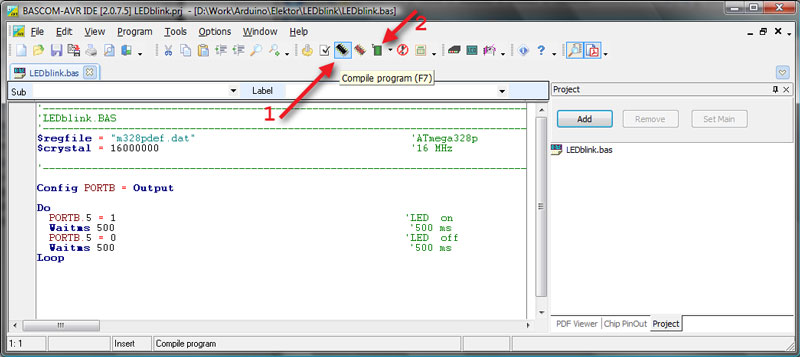
Click Ok to save the changes. I think we are ready to compile our code and program the Uno.
- Click Compile program (F7).
- Click Program Chip (F4).
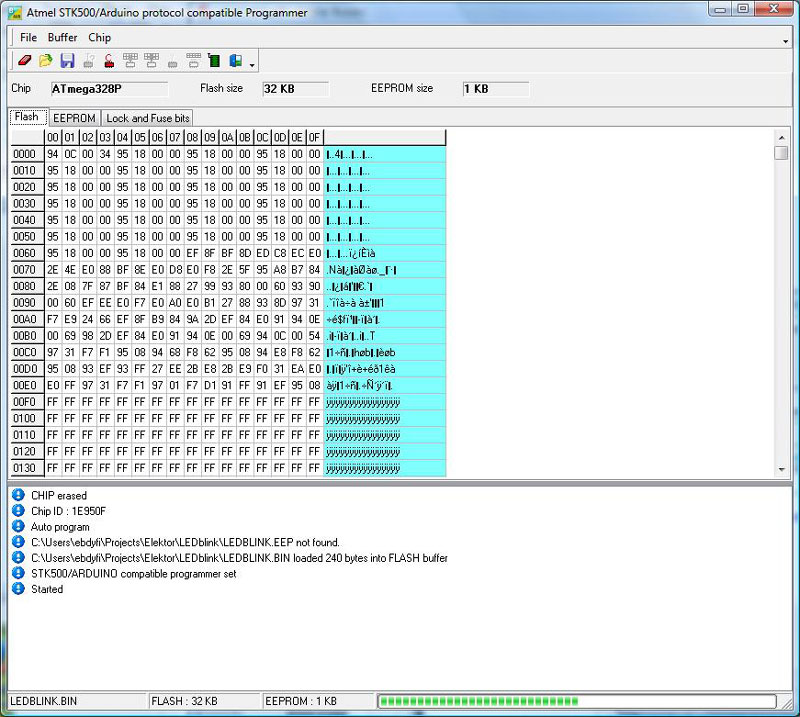
The example code is compiled and sent to the Uno (programmed to the FLASH memory with the help of a boot loader program already present in the device). The Programmer window shows the code (in hexadecimal) and the overall progress. The code starts running automatically after being written to the Uno FLASH.
Seems to work as advertised!

$regfile = “m328pdef.dat” ‘ATmega328p
$crystal = 16000000
Portb.1.2 = Output
Ddrb.1 = Output
Do
Portb.1 = 1 ‘LED on
Waitms 8000 ’64 sekund
Toggle PortB.1
Portb.2 = 1 ‘LED off
Waitms 8000 ’64 sekund
Toggle PortB.2
Loop
I have been trying to progran an arduino with Bascom just as you have shown
but my problem is that the Arduino chip m328pdef.dat is not identified by Bascom
Only three ??? is shown. What can you do?