The Red Pitaya web site has a nice quick start guide.
https://redpitaya.readthedocs.io/en/latest/index.html
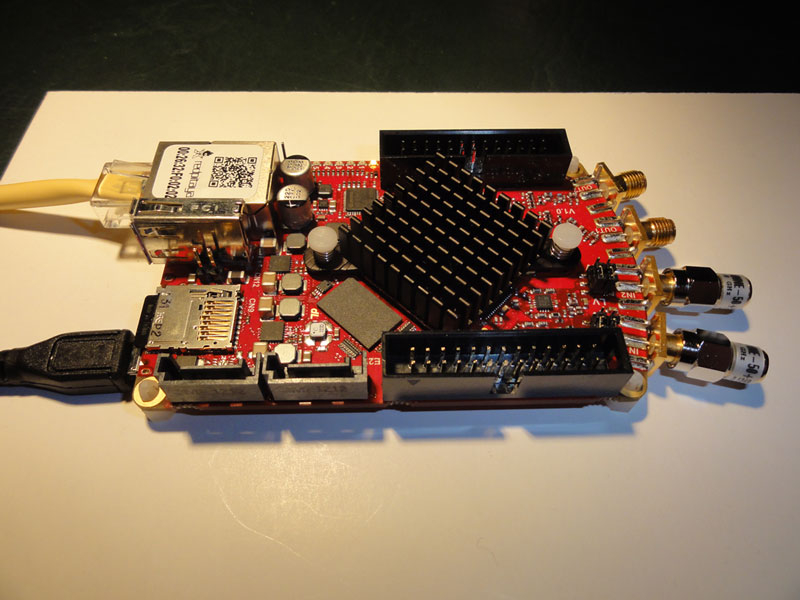
By following the instructions I inserted the micro-SD card, connected the ethernet cable to my router and then inserted the power cable. I also connected two 50 Ohm terminators to the RF front-end connectors.
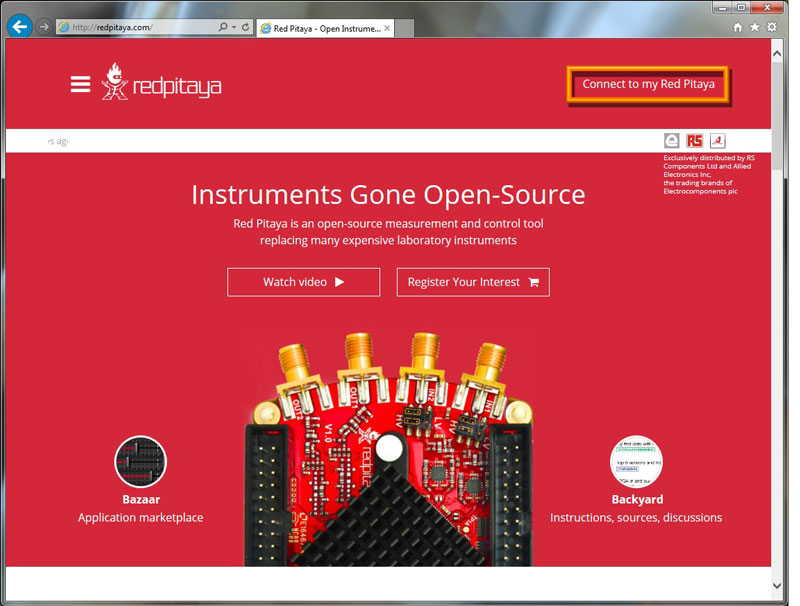
Next step is to get the web browser connection. But what is the IP-address? Luckily there is a link in the Red Pitaya web page to find that out:
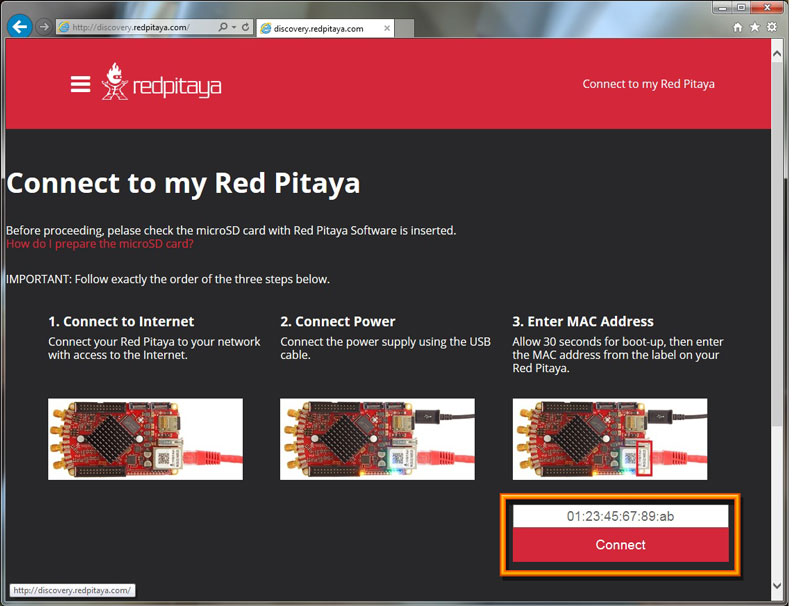
When the link is clicked a prompt appears to enter the MAC-address of the ethernet interface. The address is printed on the top of the connector.
After entering the MAC-address and clicking “Connect” I will get the IP address:
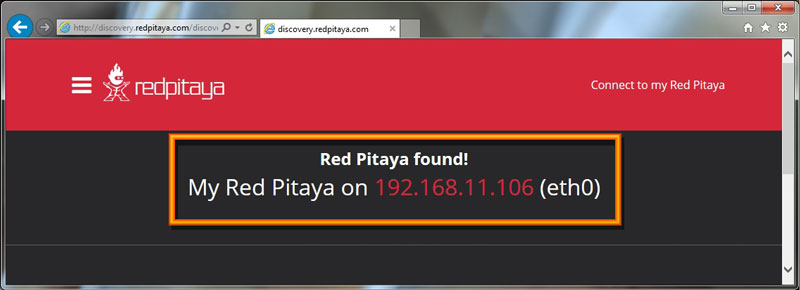
If I click the IP-address the browser loads the welcome page directly from the Red Pitaya device.

There are basically three tools available: an oscilloscope, a signal generator and a spectrum analyzer. So far, so good.