The new Raspberry Pi 2 was just released. The CPU now has 4 cores and is running at 900 MHz (before: 1 core @700 MHz). In addition the amount of RAM was increased from 500 kBytes to 1 GByte. However, it is still backwards compatible with the older Raspberry Pi devices which is just great.
As my first RPi2 project I decided to build a simple media center.
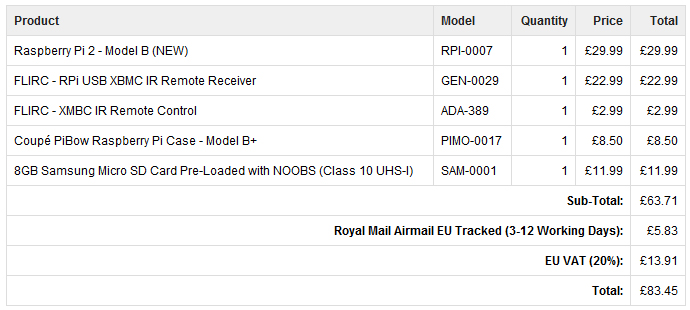
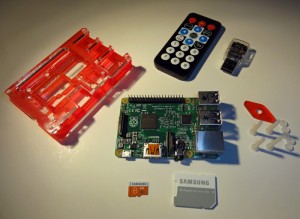
Here’s a summary of the parts that I purchased from MODMYPI.
I plan to use the FLIRC IR remote receiver and remote controller to control the media center when it is connected to my TV.
I received all the parts within a week from the order. Well done MODMYPI!
In addition you will also need:
- USB keyboard and mouse.
- 5V/600 mA power supply with micro-USB connector (e.g. a smartphone charger will do).
- HDMI cable.
- Ethernet cable (and a free port on a LAN switch/router).
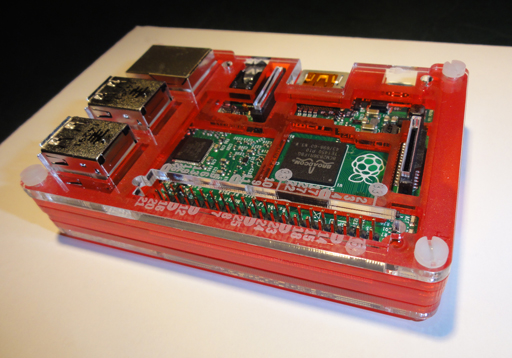
First I assembled the Coupé PiBow case and inserted the RPi2 into the case.
Next I will need to install the media center software to the SD card. I selected the OpenElec media center software because it seems to be well supported and has a pretty good documentation.
For more information please take a look at the OpenElec site:
http://openelec.tv
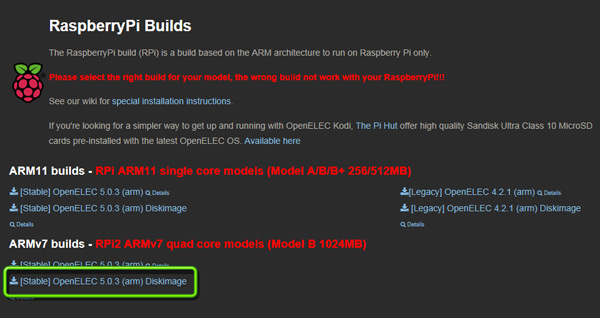
The next step is to download the disk image from the OpenElec web site. For RPi2 we should select one of the ARMv7 builds, at this moment the latest stable release seems to be 5.0.3.
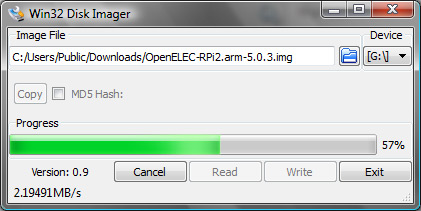
The download contains one compressed file: OpenELEC-RPi2.arm-5.0.3.img.gz. Let’s unzip it and write it to the microSD card with the Win32DiskImager app.
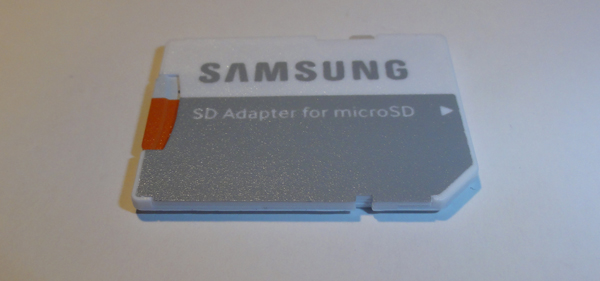
The microSD card came with an adapter that allows it to be used in a standard SD-card reader (like the one I have in my laptop).
So with the card in place I will just fire up Win32DiskImager and write the image file to the card.
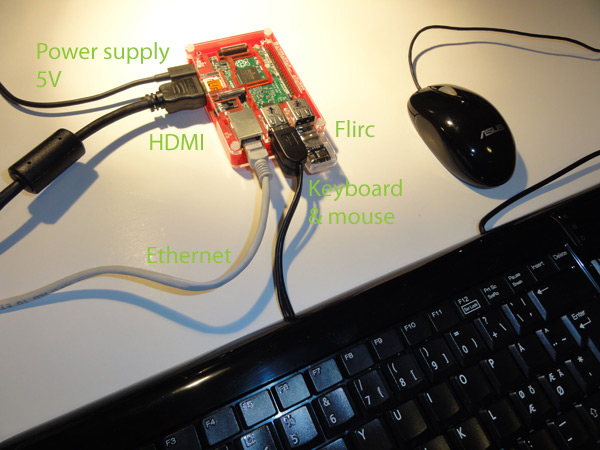
Next you just need to insert the microSD card to RPi2, connect the ethernet cable, the USB keyboard, the USB mouse and the monitor with an HDMI cable and finally the power supply. I have here also the Flirc connected, but you cannot really use it yet as it hasn’t been programmed.
