In my first Bascom project I managed to make the LED blinking on the Arduino Uno board. Let’s also try to do the same with the Arduino IDE.
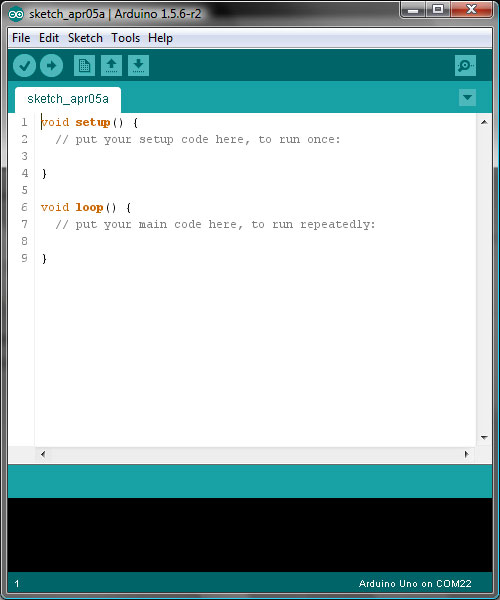
The user interface looks quite plain and clean compared to the Bascom IDE. A template file is loaded by default. It consists of two functions: setup() and loop().
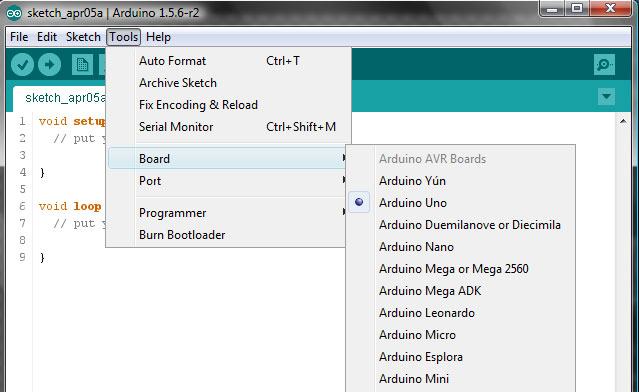
The board can be selected from the Tools>Board menu:
Under File>Examples there are a lot of ready made example programs (or sketches as they are called). Under 01.Basics you can find a LED blinker. Let’s see how it looks like.
Here is the code (note that we are now talking C here):
/*
 Blink
 Turns on an LED on for one second, then off for one second, repeatedly.

This example code is in the public domain.
 */

// Pin 13 has an LED connected on most Arduino boards.
// give it a name:
int led = 13;

// the setup routine runs once when you press reset:
void setup() {
 // initialize the digital pin as an output.
 pinMode(led, OUTPUT);
}

// the loop routine runs over and over again forever:
void loop() {
 digitalWrite(led, HIGH); // turn the LED on (HIGH is the voltage level)
 delay(1000); // wait for a second
 digitalWrite(led, LOW); // turn the LED off by making the voltage LOW
 delay(1000); // wait for a second
}
Looks pretty similar compared the BASIC version. One difference is that we are now referring to pin numbers instead of ports.
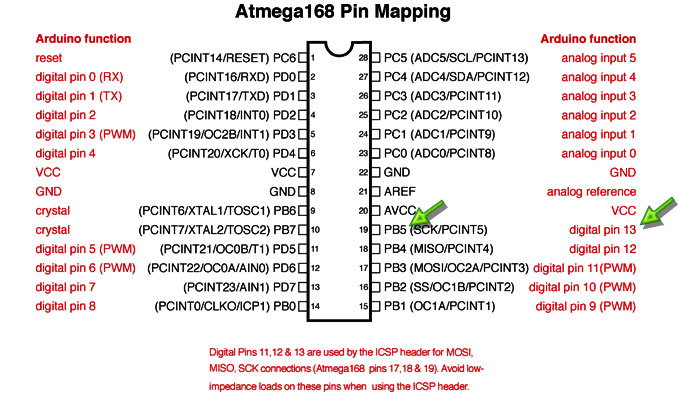
The figure below shows the mapping between the pins and the ports. E.g. the digital pin 13 corresponds to PB5.
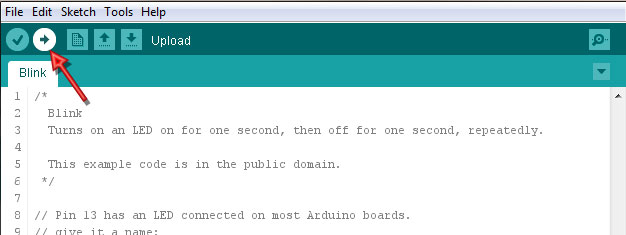
Click the right arrow button to upload the program – sorry, sketch to the ATmega328 flash memory.
The status display shows that the sketch reserves 1116 bytes from the 32 KB flash memory and 11 bytes from the 2KB SRAM. And the sketch seems to be running nicely on the Arduino Uno.


